Running the Web application
Before running the Web application, we must have the data source for the ITSOBANK database configured. Refer to Setting up the ITSOBANK database for instructions. You can either configure the enhanced EAR in the RAD75EJBWebEAR application, or define the data source in the server. We suggest to define the data source in the server, as described in Configuring the data source in WebSphere Application Server.
To run the Web application perform these steps:

| Right-click the server in the Servers view and select Add and Remove Projects. Remove the RAD75EJBEAR application, and add the RAD75EJBWebEAR application, then click Finish.
|
|
| Right-click the RAD75EJBWeb project and Run | s Ć Run on Server.
|
|
| Select the WebSphere Application Server v7.0 when prompted.
|
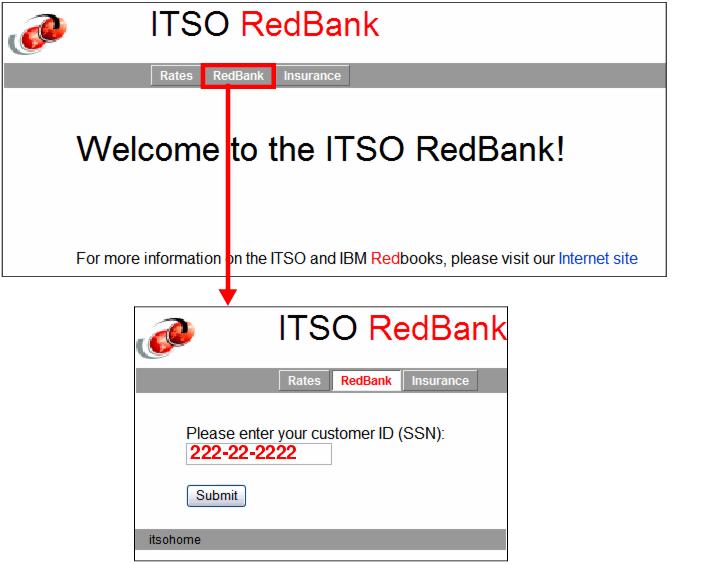
Figure 14-20 RedBank: Login
|
| Enter a customer number (222-22-2222) and click Submit. The customer details and the list of accounts are displayed (Figure | 4-21).
|
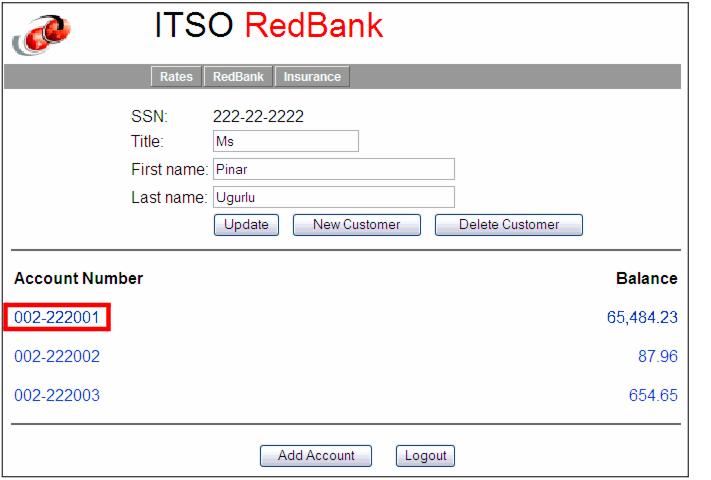
Figure 14-21 RedBank: Customer with accounts
|
| Click an account (002-222001) and the details and actions are displayed (Figure | 4-22).
|

Figure 14-22 RedBank: Account details
|
| Select List Transactions and click Submit. The transactions are listed (Figure | 4-23).
|

Figure 14-23 RedBank: Transactions
|
| Click Account Details to go back to the account.
|
|
| Select Deposit, enter an amount (.33) and click Submit. The balance is updated to 65,485.00.
|
|
| Select Withdraw, enter an amount (485) and click Submit. The balance is updated to 65,000.00.
|
|
| Select Transfer, enter an amount (1000) and a target account (002-222002) and click Submit. The balance is updated to 64,000.00.
|
|
| Select List Transactions and click Submit. The transactions are listed and there are three more entries (Figure | 4-24).
|

Figure 14-24 RedBank: Transactions added
|
| Click AccountDetails to go back to the account. Click Customer Details to go back to the customer.
|
|
| Click the second account, then click Submit and you can see that the second account has a transaction from the transfer operation.
|
|
| Back in the customer details, change the last name and click Update. The customer information is updated.
|
|
| Overtype the names with Julia Roberts, and click New Customer.
|
|
| Click Add Account and an account is added to the customer (Figure | 4-25).
|

Figure 14-25 RedBank: New customer and new account
|
| Perform some transactions on the new account.
|
|
| Go back to customer details and click Delete Customer.
|
|
| In the Login panel, enter Ro% and click Submit. The customer named Rohr is found and displayed.
|
|
| In the Login panel, enter a bad value and click Submit. The customer details panel is displayed with a NOT FOUND last name.
|
|
| Click Logout.
|