Verifying the new WebSphere profile
After creating the WebSphere profile, you can verify that it was created properly and familiarize yourself with how to use it by doing the following steps:
| View the directory structure and find the new profile: |
<rad_home>/runtimes/base_v7/profiles/<profile_name>
<rad_home>/runtimes/base_v7/profiles/AppSrv01
This is where you will find, among other things, the config directory containing the application server configuration files, the bin directory, for commands, and the logs directory where log information is recorded.
|
Note: For simplicity, we will now refer to the entire path for the profile as <profile_home>. |
| Start the server by opening a command prompt, and issuing the startserver commands: |
startserver server1
| After the server has started, the following message is displayed in the command prompt but probably with a different process id: |
ADMU3000I: Server server1 open for e-business; process id is xxxx
The server log files are in the <profile_home>/logs/server1 folder. Open the following file to see the logging messages:
<profile_home>/logs/server1/SystemOut.log
| Open the WebSphere administrative console by accessing its URL from a Web browser. The format of the required URL and a specific example are: |
http://<appserver_host>:<admin_console_port>/ibm/console
http://localhost:9062/ibm/console/
The administrative console port was listed in the Profile Creation Summary page during profile creation. If the port used in your case is different from the example given, you can determine the port from the SystemOut.log. Search for the string bound to admin_host in the log file. The first number in the square brackets following this string is the admin port being used. In this example, the values are [*:9062,*:9045].
| Click Log in to access the admin console functionality. Security is not active at this time, so you do not have to enter a user name. If you choose to enter a name, it can be any name. If you enter a name, it will be used to track changes you made to the configuration. |
| In the admin console, you can see Servers and Applications in the list presented on the left hand side of the display. To investigate a portion of the server configuration, do the following steps: |

|
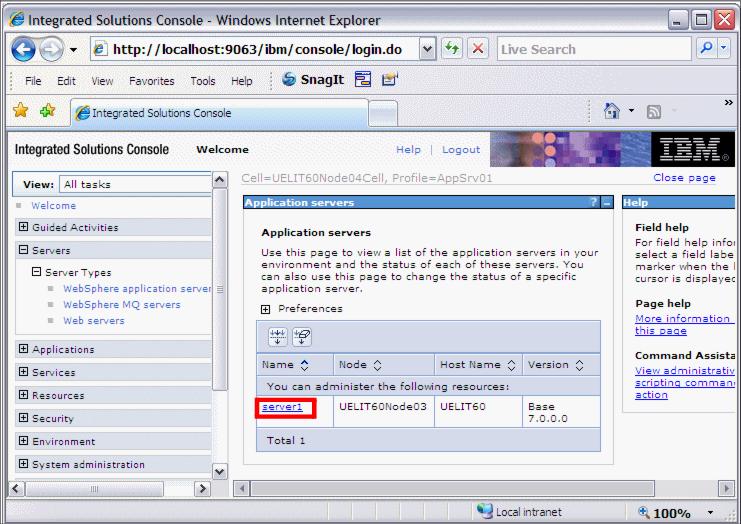
Figure 22-6 Application servers list in the admin console
|
|
|
|
| Stop the application server by executing the stopserver command in the command window: |
The following message will be displayed in the console when the server has stopped:
ADMU4000I: Server server1 stop completed.
|
ibm.com/redbooks |