Split an HTTP test during recording
Overview
Split points generate multiple tests from a single recording.During the recording process, you can select the option to create a schedule for the tests that are generated from the split points. The schedule will contain these attributes:
- One user
- One user group for the local computer
- All of the tests from the recording, in serial order
- One stage: Run until finished
- Recorded think times, with the maximum think time set to 2 seconds
- Statistics:
- Statistics log level: All
- Statistics sample interval: 5 Seconds
- Only store All Hosts statistics
- Test Log:
- Show errors and failures: All
- Also show warnings: All
- And also show all other types: All
- Problem Determination log level: Warning
Insert split points when you record a test
- Start recording the test.
The Recorder Test Annotations toolbar opens near the top of the screen.
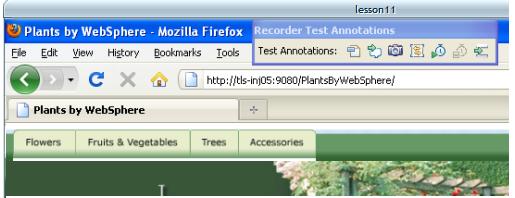
- To insert a split point into the recorded test, click the Split point icon
 .
.
The Insert Split Point window is displayed.
- Click Test name, and then type a name for this section of the test.
You are naming the previous section of the test, not the upcoming section of the test.
Repeat this step between recorded user actions as needed to split tests.
- Click Test name, and then type a name for this section of the test.
- Close the client program to stop the recording.
The Generate HTTP Test window is displayed.
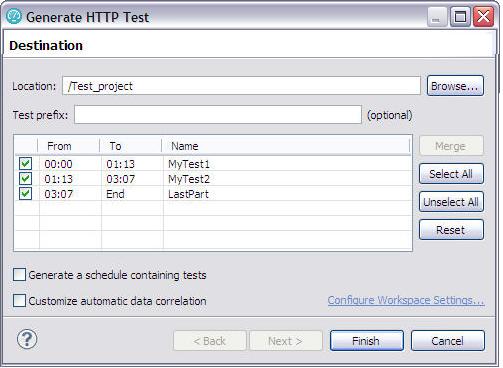
- Type a Test prefix for all the tests in the schedule.
- To create a schedule for the tests, select...
-
Generate a schedule containing tests
When you select this option, you can modify the name of the schedule.
- To choose automatic data correlation or rule-based data correlation, select..
-
Customize automatic data correlation
If you select this option and choose rule-based data correlation, you can specify which data correlation rule sets to use.
- Click Finish.
The Test Generation window displays the status of generating the tests and schedule and the data correlation. You can view the test generation log from this window.
- When test generation is complete, select the test to open and then click...
-
Open Selected Tests
..or click Close to finish this process.
Related :
Record reliable HTTP tests
Configure Internet Explorer for recording from a secure web site
Record an HTTP test
Reset browser LAN settings if recording is interrupted
Create HTTP tests manually
Record Adobe Flex content
Record Microsoft Silverlight applications
Set HTTP test generation preferences
Split a test
Error 404 - Not Found
The document you are looking for may have been removed or re-named. Please contact the web site owner for further assistance.