Annotate a test during recording
Overview
With the annotation toolbar, while recording a test you can...
- add comments
- add transactions
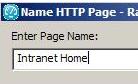
- change a page name
The advantage of adding these elements during (rather than after) recording...
- You can put them exactly where you want the annotations to be.
- Because annotations are part of the recorded test, they are regenerated when you regenerate the test.
Enable the annotation toolbar install prompt
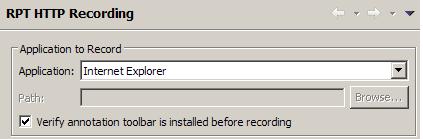
To enable the annotation toolbar install prompt, go to...
-
Window | Preferences | Test | RPT HTTP Recording
Annotate a test
- Start recording the test.
If the annotation toolbar is not installed, you are prompted to install it.
The Recording annotation toolbar opens near the top of the page.

- Click the appropriate icon.
Icon Action 
Add a comment. You are prompted for a comment. 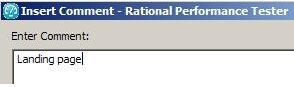

Start a transaction. Transactions can be nested. 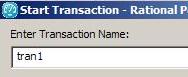

End the current transaction. 
Change the page name. The Test Contents area displays the changed name. The original name is preserved in the Page Title Verification Point area so that page title verification points still work correctly.

Insert a split point. 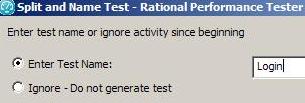
- Close the browser, as usual, when you finish recording. The test is generated with the comments, transactions, and page names that you added.
Example
The following example shows a renamed page, with the original title preserved in the Page Title Verification Point area.

Related
- Record a successful test
- Configure Internet Explorer for recording from a secure Web site
- Record an HTTP test
- Split a test during recording
- Record with IP addresses
- Record with Internet Protocol v6
- Return a browser to its initial state if recording is interrupted
- Change HTTP recording preferences
- Change HTTP test generation preferences
- Add a comment