Editing a datapool
In a manner similar to editing a spreadsheet, you can add, modify or remove data from a datapool.
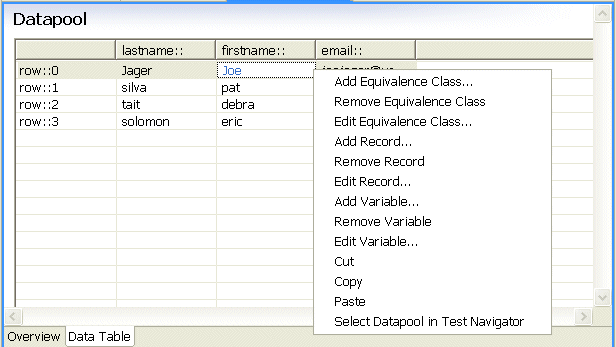
When you right-click on the datapool editing grid, you see the datapool editing popup menu shown in the following figure.

Before you can add data to a datapool, it must contain at least one equivalence class (named row index) and one variable (column). The table shown above contains a single equivalence class with four rows and three columns. To add data to a datapool, you just type in a cell and hit Enter. Thus, to add data to the lastname column in the forth row, you click that cell and type a name followed by the Enter key.
This task explains how to add a new element. The Delete and Edit actions work similarly. To relocate or remove a row, you right-click on the row. To rename, relocate, or remove a column, you click the column name.
To add a structural element to a datapool, right-click in the Data Table grid and select one of the following.
| Option | Description |
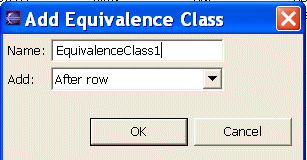
| Add Equivalence Class |
The Add Equivalence Class dialog box opens.
The new equivalence class is added to the leftmost (row index) column. |
| Option | Description |
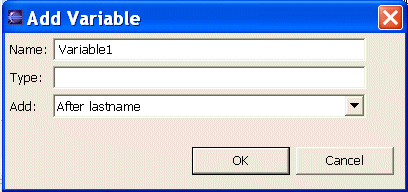
| Add Variable |
The Add Variable dialog box opens.
|
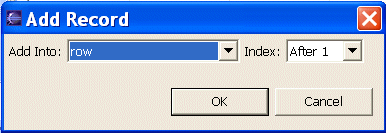
| Add Record |
The Add Record dialog box opens.
|
Parent topic
Providing tests with variable dataPrevious topic: Opening a datapool
Next topic: Accessing a datapool from a Hyades test


